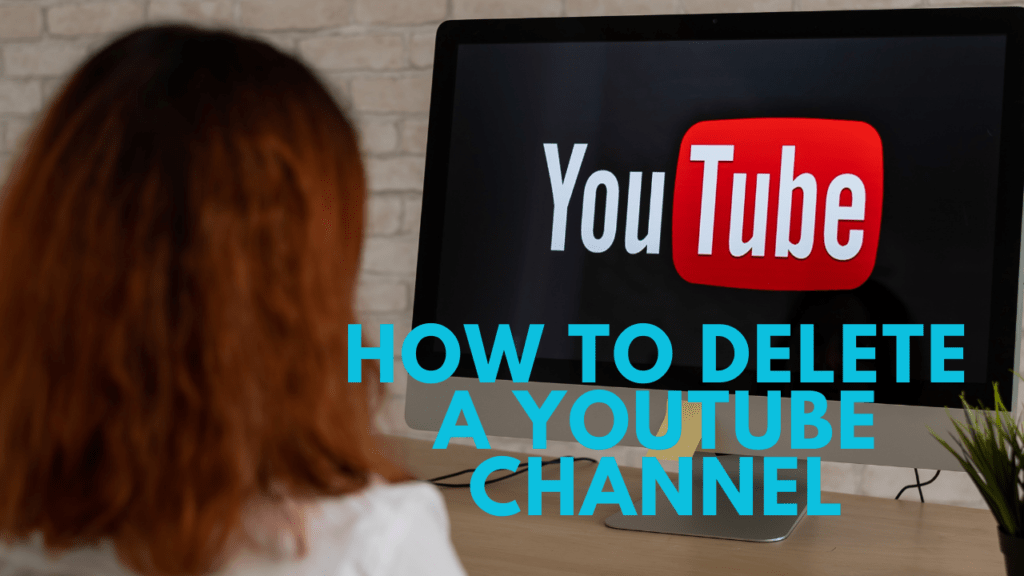
How to Delete a YouTube Channel
YouTube, the behemoth of online video platforms, has provided a stage for countless creators to share their content with the world. However, there are instances when one may decide it’s time to close this digital chapter. Whether it’s a strategic shift, a desire for privacy, or a complete departure from the content creation scene, knowing how to delete your YouTube channel is a skill every creator should possess. In this guide, we’ll take you through the step-by-step process of bidding farewell to your YouTube presence.
I. Deciding to Delete: Assessing the Need
Before you dive into the process, take a moment to reflect on your decision. Why do you want to delete your channel? Assess the need for this drastic step and consider alternative options like privatizing videos or taking a hiatus. If you’re firm in your decision, proceed to the next steps.
II. Preserving Memories: Backing Up Your Content
Deleting your channel is irreversible, and all your content will be lost. Before you proceed, back up your videos. Download them to your computer or an external drive to preserve your digital memories.
III. Gateway to Deletion: Sign In to Your Google Account
Access the Google account associated with your YouTube channel. This is the account you used to create the channel. Signing in is the first step towards channel deletion.
IV. Creator’s Hub: Access YouTube Studio
Navigate to YouTube Studio by clicking on your profile picture on the YouTube homepage. From the dropdown menu, select “YouTube Studio.” This is your creator hub.
V. Control Center: Navigating to Settings
In YouTube Studio, locate the settings gear icon on the left sidebar and click on it. This opens the settings menu, your control center for channel management.
VI. Hub of Customization: Choose “Channel”
Within the settings menu, find and click on “Channel.” This section provides various options for customizing your channel.
VII. Delving Deeper: Select “Advanced Settings”
Within the “Channel” settings, click on “Advanced settings.” This is where the option to delete your YouTube channel is hidden.
VIII. The Point of No Return: How to Delete a YouTube Channel
Scroll down to find the option “Delete channel.” Click on it to initiate the process of bidding farewell to your YouTube presence.
IX. Security Measures: Verify Your Identity
YouTube will ask you to verify your identity for security reasons. Enter your password or sign in again to confirm that you are the legitimate owner of the channel.
X. Providing Feedback: Selecting a Reason for Deleting
While optional, selecting a reason for deletion can provide valuable feedback to YouTube. Choose the reason that aligns with your decision to help improve the platform.
XI. Understanding Consequences: Confirm Deletion
Review the summary provided by YouTube, outlining what will be permanently deleted. Make sure you understand the consequences before proceeding.
XII. Adding Security: Enter Your Channel Name
To finalize the deletion, enter your YouTube channel name. This extra layer of security prevents accidental deletions.
XIII. The Final Act: Click “Delete My Content”
The last step is to click “Delete My Content.” This action sets How to Delete a YouTube Channel on the path to permanent deletion. Be patient as the process may take some time.
Conclusion
How to Delete a YouTube Channel In the dynamic world of online content creation, knowing how to exit gracefully is just as crucial as making a grand entrance. Deleting your YouTube channel is a significant decision, and this guide ensures you navigate the process with confidence and understanding. As you bid farewell to one digital chapter, remember that the online world is ever-evolving, and new opportunities await on the horizon. Deleting your YouTube channel might be an end, but it can also be the beginning of a new digital journey.